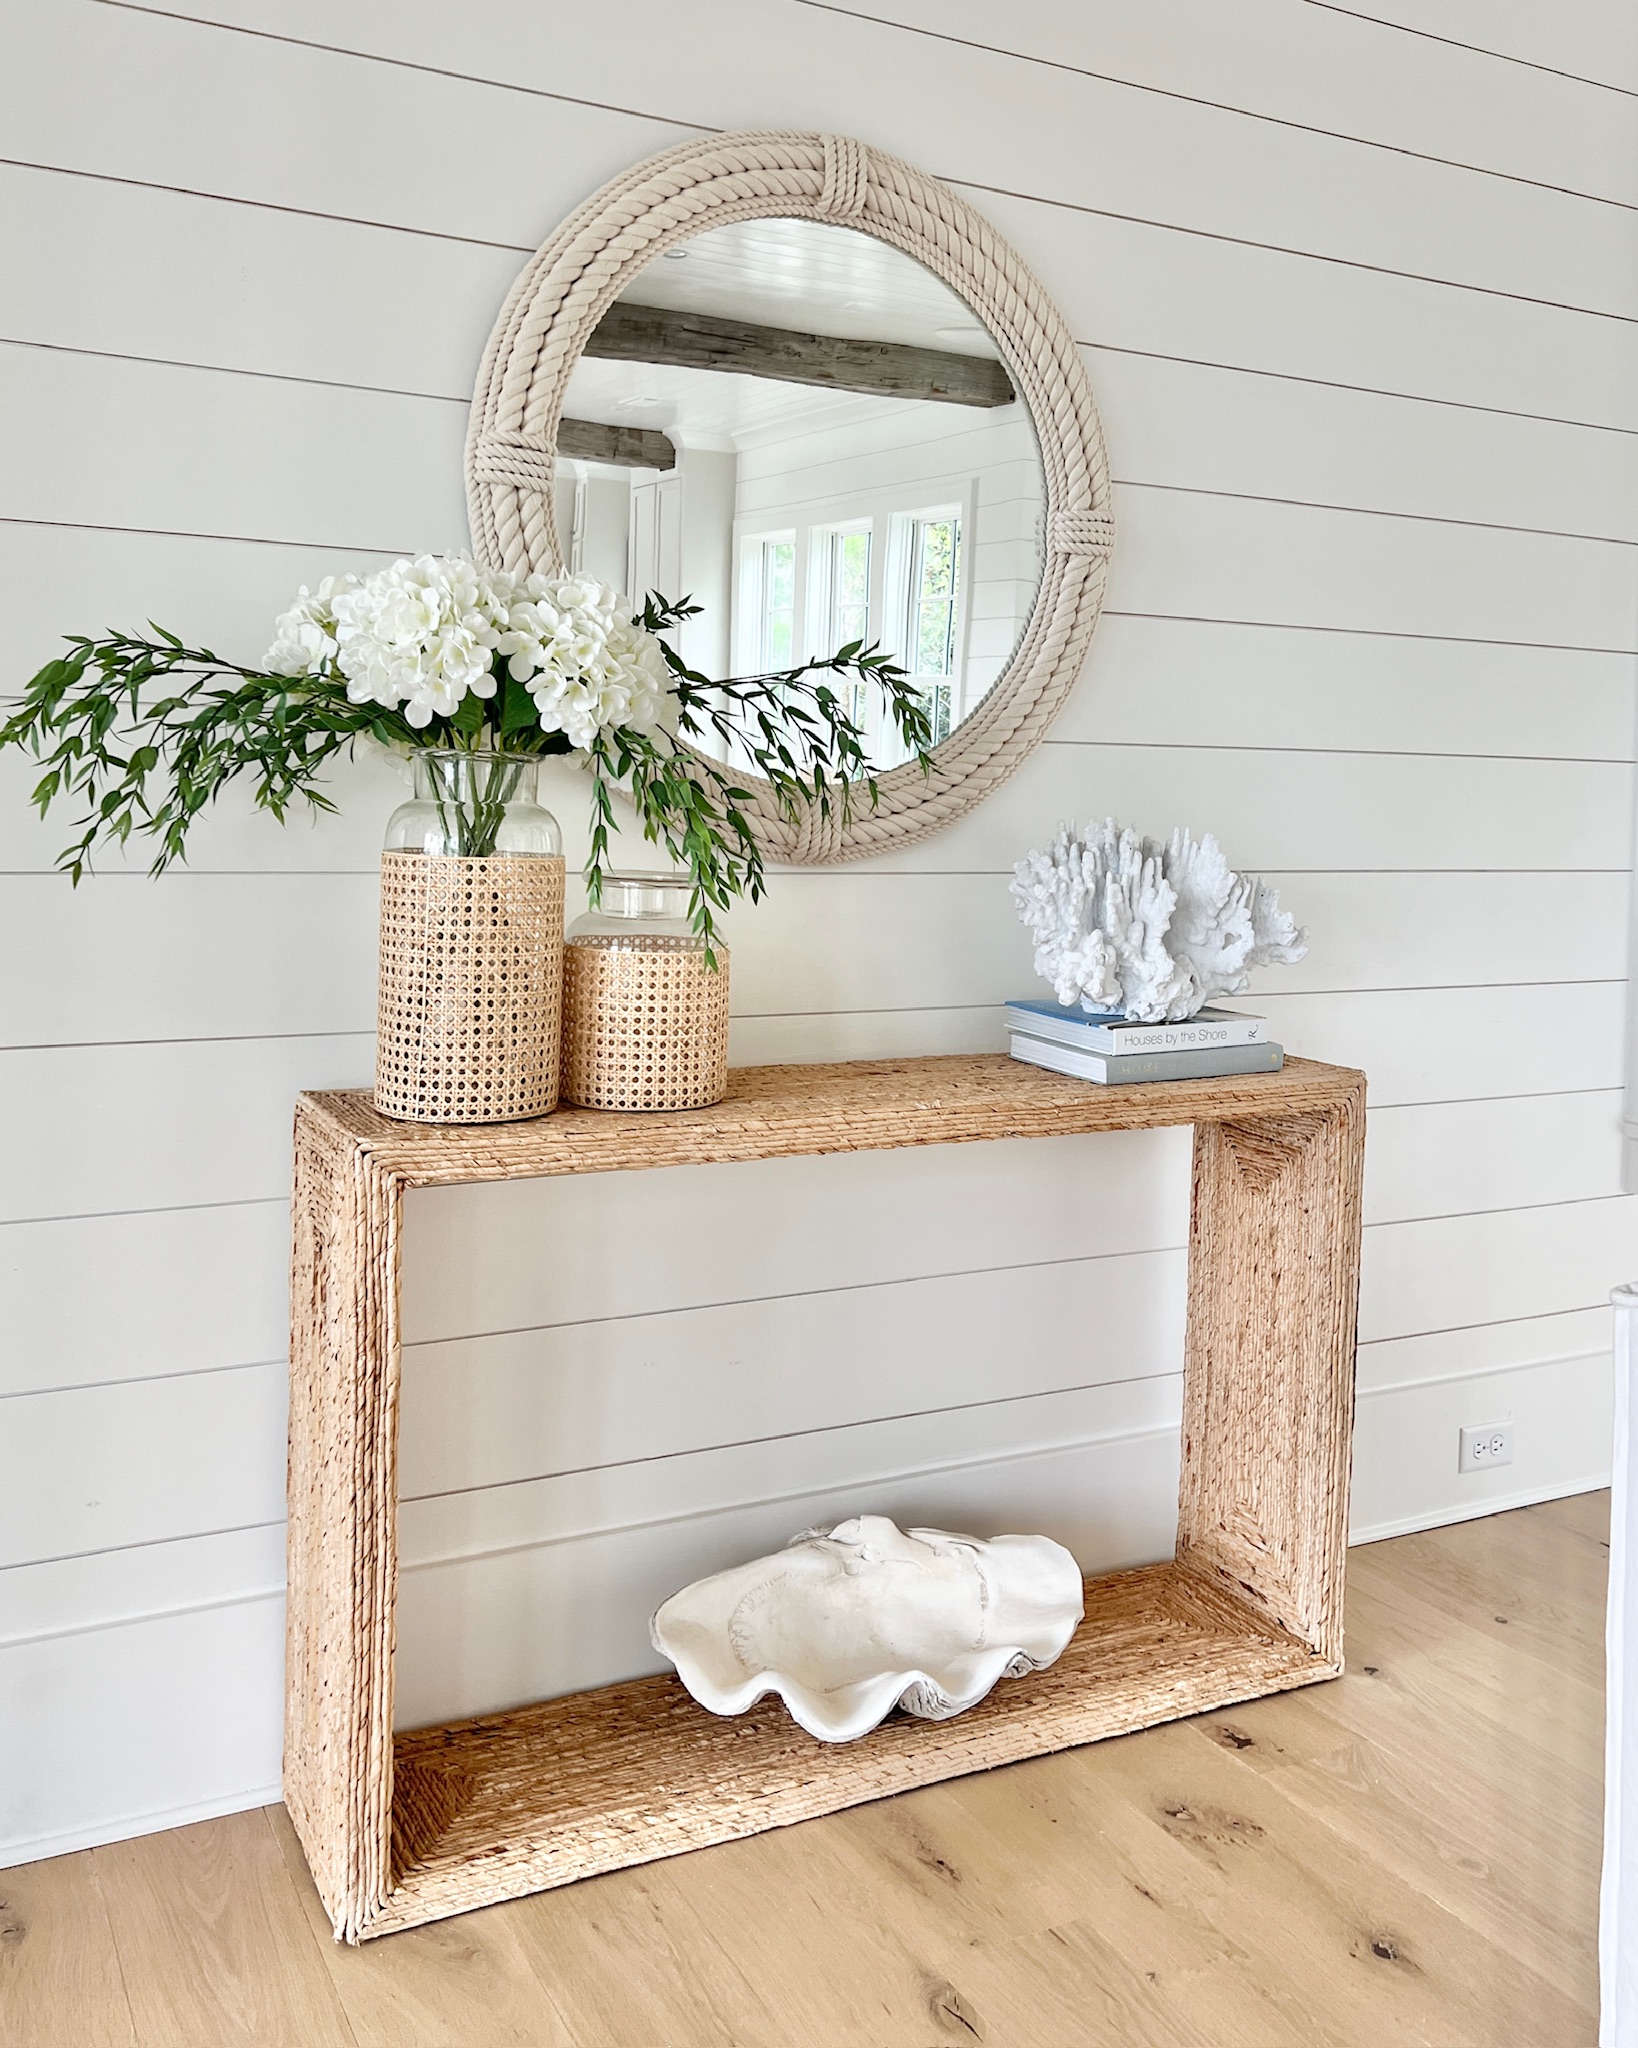
Budget Friendly Powder Room Makeover

In March we are having our first story floors restained/refinished so we have been trying to dress up the two first floor powder rooms so they match the beautiful floors. Refinishing floors isn’t cheap, but it has big impact. Because we are spending so much on the floors we decided to go with budget friendly powder room updates that we could take on ourselves.

Paint is the best BIG IMPACT, low cost update. We painted both the walls and the vanity is this half bathroom. At some point I would also like to add some texture to the wall. I’m thinking about a tile backsplash all the way up the wall behind the mirror but for now we achieved a huge improvement tackling tasks while the kids were home.
This particular bathroom already had hardwood floors. This flooring will be refinished by a professional, but my husband switched out all the fixtures I selected and the rest was just paint!
I scoured Amazon for brushed gold fixtures and found the faucet, towel ring, and toilet paper hardware for pretty great prices. The original tilting mirror I bought for this space was so long it was tapping the glass of the vanity lights so I returned it and grabbed this 34″ round bronze mirror instead. Everything happens for a reason – I love the round mirror here.
Changing the light fixture and bulbs (daylight color) had such a big impact on the lighting of this room (which has no windows). The cabinet knobs are the originals, but I spray painted them with Rustoluem “Pure Gold” and the wall mounted toilet paper holders are basket trays held up by thin nails.

I used Behr Chalk Paint in Fossil Gray to paint the vanity. IN PERSON THIS COLOR IS NOT AS WARM AS IT PHOTOGRAPHS. I actually started blogging based on my love of quick DIY projects like this one so I had used chalk paint before. If you were wondering why a predominately fashion blog was called Pinteresting Plans – there ya have it! My original intent was to share budget friendly home projects I was working on when my husband was fresh out of rehab and we were pretty short on funds.
If you haven’t used chalk paint before, it is super user friendly for beginners. I did not sand this vanity. I cleaned it well to remove dirt and grime, but this piece was otherwise in good condition. If you have chipping or splintering of the wood or paint you’ll want to sand those areas, but chalk paint coats well and from my experience has good longevity.
Speaking of longevity, I did two coats of paints using this angled brush and then applied the wax clear coat that helps protect the paint. There is a certain type of brush recommended for this type of wax but you could probably get away with wiping it on with a rag as well. You’ll want to buff it off after it’s had ample time to dry (consult the instructions on the particular product you select).
My hubby painted the walls. They went from green to Benjamin Moore “Classic Gray”. I’m thinking of trying cheaper paint because the last gallon of Benjamin Moore paint we purchased cost $75. I’d love to hear your recommendations for other brands you might love…or if you’ve had a bad experience and suggest sticking with the higher priced paint. I’m planning to try the Behr paint on my laundry room walls.
Thanks so much for stopping by. I just used the rest of the paint from this project to reface my kids’ mint green bathroom. I shared a peek of it over on Instagram stories. We are hoping to do a full update in there down the road.
SHOP THE POST

I’ll be tackling my laundry room next if you care to follow along you can sign up for my weekly newsletter or I’m more likely to share frequent updates on Instagram stories. Drop any questions you have in the comments below as I’m sure I missed a few things and it will help other curious readers too. XX
Related Posts


follow @pinterestingplans

LTK
AMAZON
ABOUT
STAY ON 30A
HOME INTERIORS
LIFESTYLE
BEAUTY
OUTFITS
HOME

7
7 Comments on Budget Friendly Powder Room Makeover