Picture Tutorial of Loose Waves for Long Hair

Today I am sharing a picture tutorial of how I get the loose curls you often see in my Instagram photos. In previous posts I have shared some time saving tools and products but I have been shy to get up close and personal with my aging face to do a tutorial. That’s actually one of the reasons I didn’t do a video tutorial of these loose curls but it’s also nice to not have to watch 5 minutes of a video just to get to the one piece of information you might want to see. 
The basic method for the loose curls I do is similar to the beachy waves I wear more in the Summer. For the loose curls I use the tapered barrel of the T3 wand trio and for the beachy waves I use the 1″ straight barrel that comes with the set. For beachy waves I also sometimes alternate the direction of the curl (towards the face vs. away from the face) and when I want loose curls I always direct the hair away from my face. You will see below…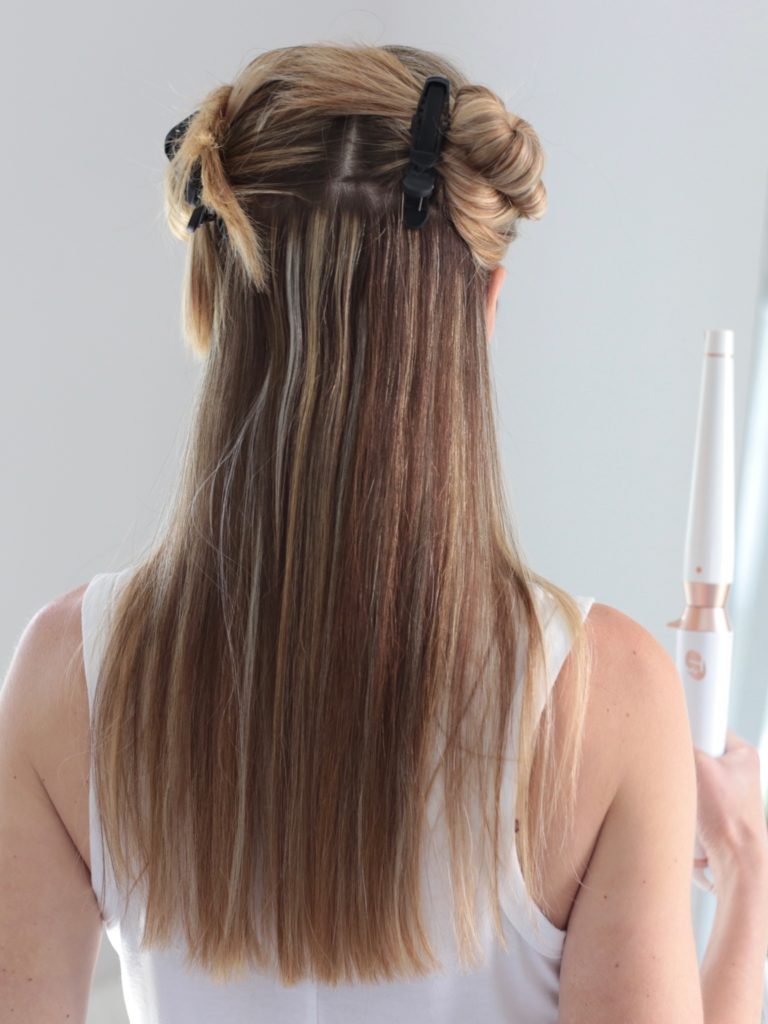
I start by applying heat protector to my hair and then sectioning off my hair with alligator clips. I section my hair into thirds – the bottom layer (pretty much ears down), and then divide the top layer down the middle. I have naturally (mostly) straight hair. To achieve the look of the loose curls I am showing today you will want to start with straight hair.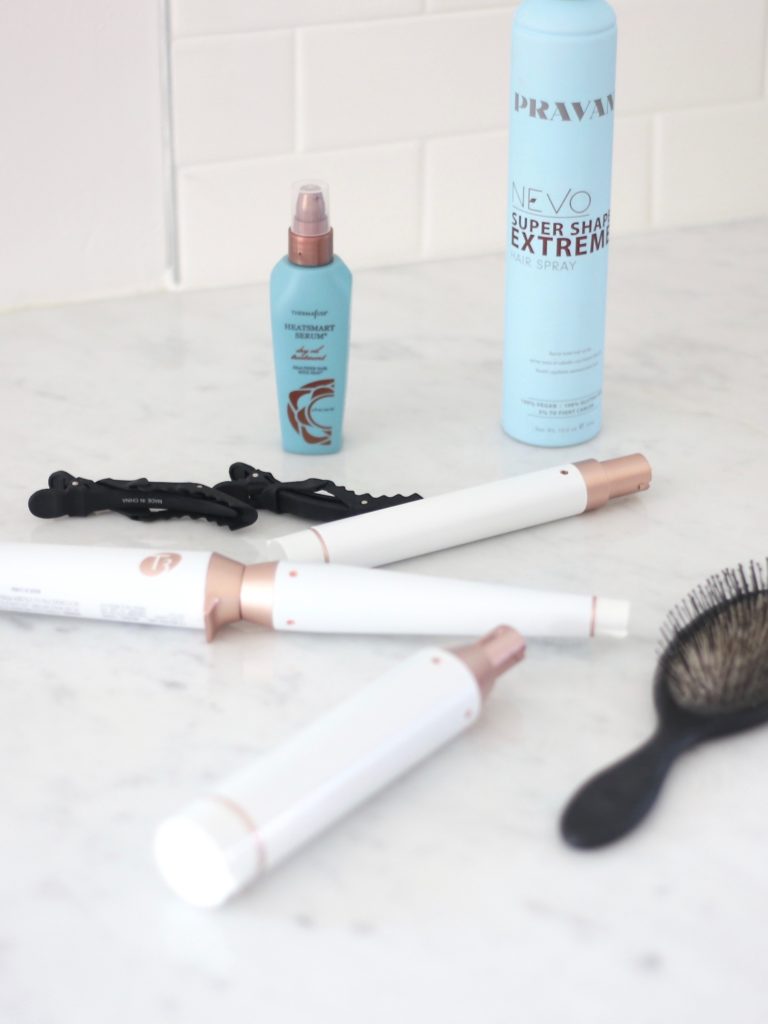
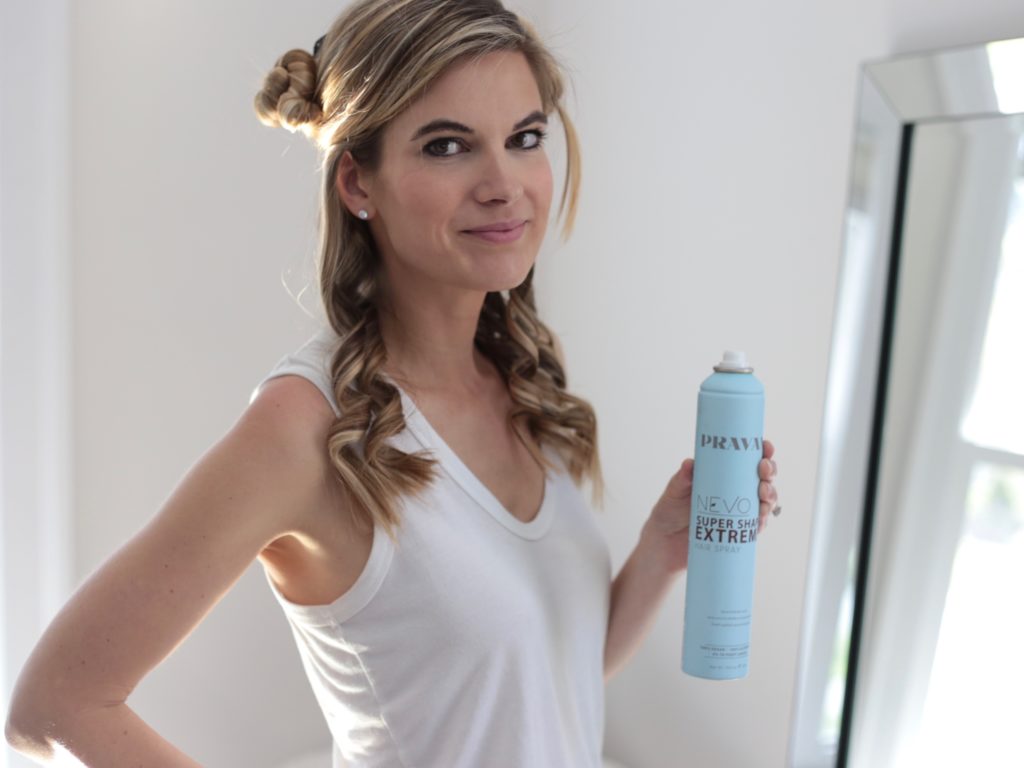
This heat protector smells amazing – like cotton candy or something sweet and delicious. A little goes a long way so the bottle will last awhile. If I am doing beach waves I often won’t use hairspray but for more curl I use this hairspray (recommended to me by a friend who is a hair stylist). Since I don’t use hairspray all that often I can’t really compare it to much but it definitely does the trick and I trust the gal who gave me the advice.
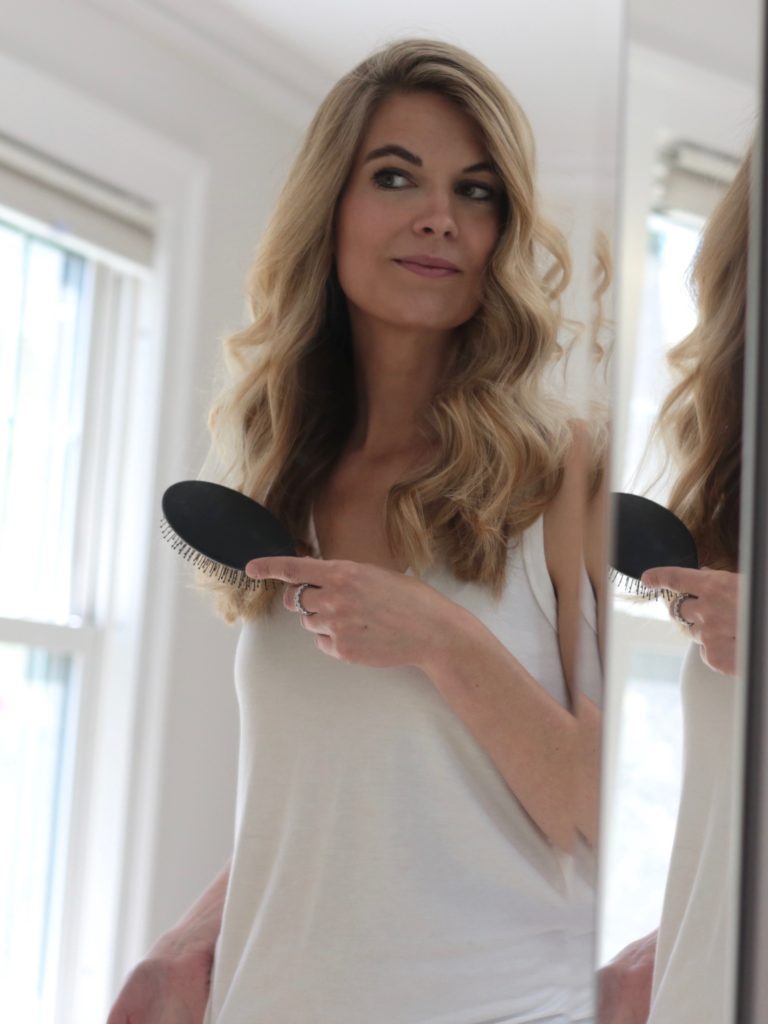
If you don’t own a wet brush I highly recommend you try one. They are inexpensive and it’s by far my most used hairbrush. You can use them quickly to smooth and detangle wet and dry hair.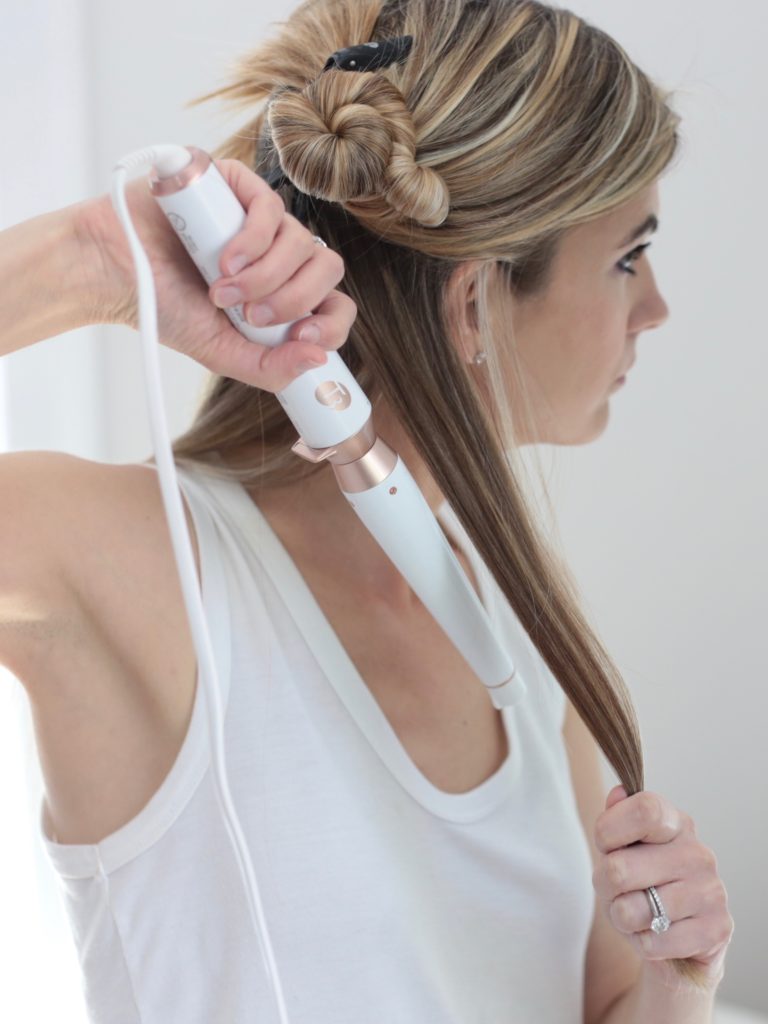
It took me awhile to get the knack of holding the curling wand at a downward angle. For almost a year I used a cheap wand I got on Amazon and I wore a heat protector glove every time I curled my hair. When I did it enough to be skilled enough to curl without the glove I upgraded my curling tools. If you haven’t tried the T3 hairtools they are the best I have tried. I have the curling wand trio (which does come with a heat protective glove by the way). All 3 wands offer a different look. The advantage of the T3 (outside of just being aesthetically pleasing) is that the curls last longer and my hair doesn’t need to stay on the heat as long so there’s less damage.
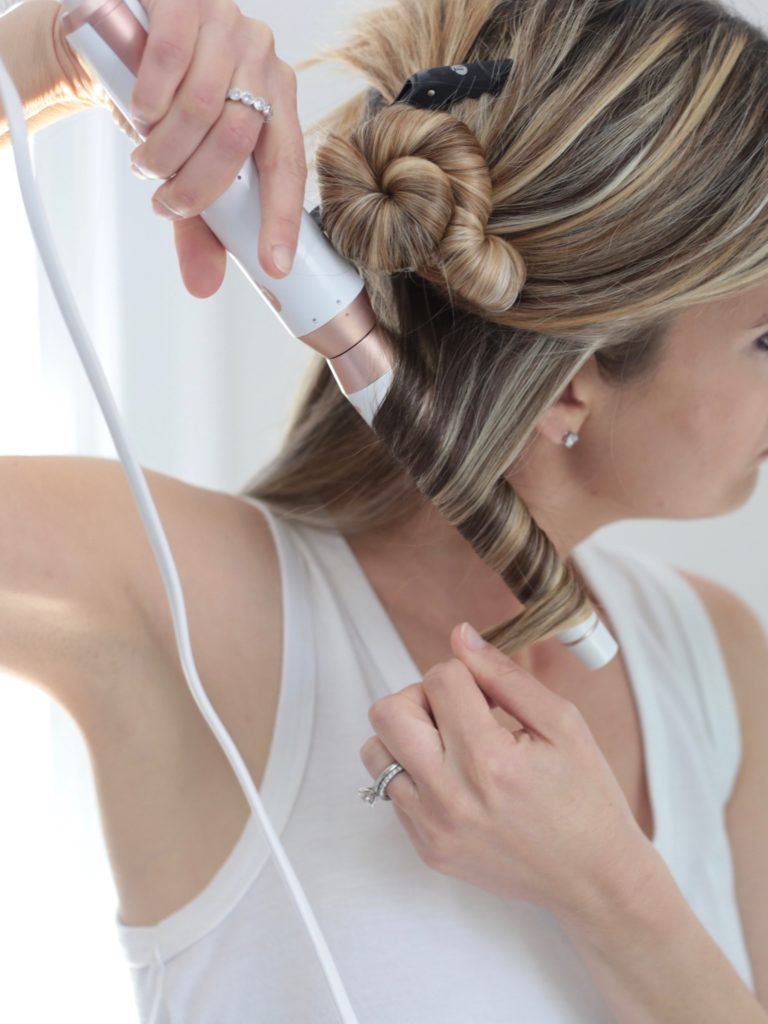
For these loose curls I curl my hair away from my face. I don’t count, but I hold each section of hair around the wand for about 10 seconds. The longer you hold the tighter the curl will be (and more you will damage your hair). In this tutorial I am using the tapered wand. It gives a bit of a different look than the 1″ barrel I use most often for beachy waves. 
I can curl all my hair in around 10-15 minutes depending on the size of the sections I am using. The larger the section of hair, the looser the curl.

To help your curls last longer – hold them as a tight ringlet while they cool for a few seconds right after you take the hair off the curling wand.
If I am using hairspray I spray each section AFTER I am done curling. 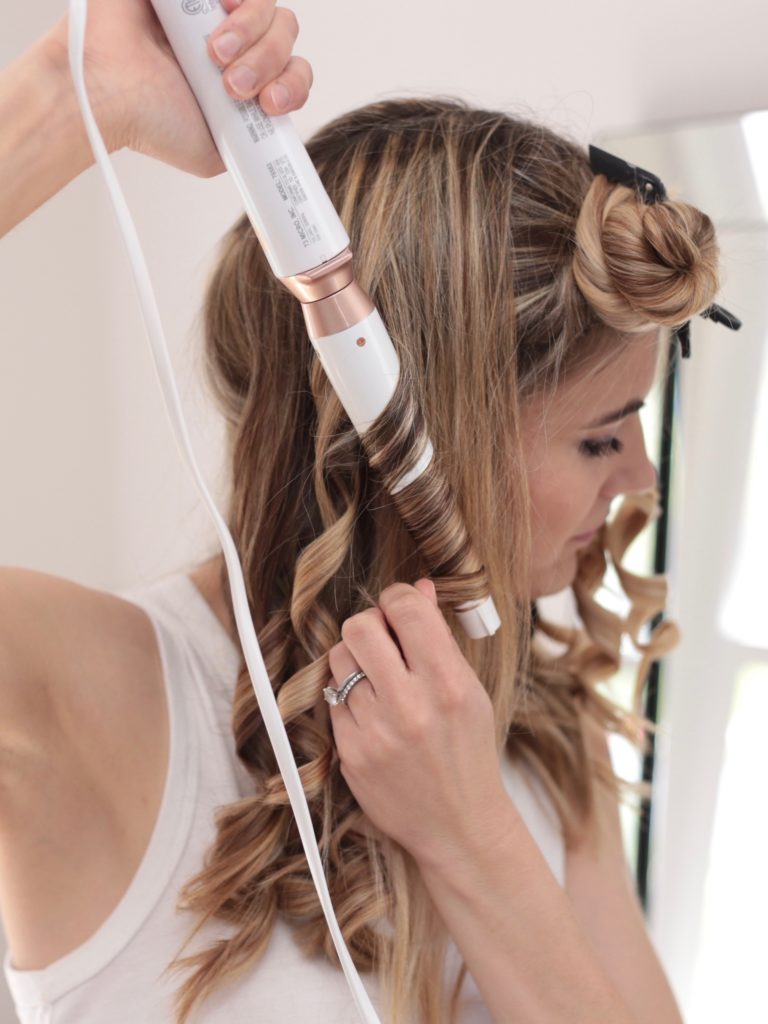
When I get to the top sections of hair I again divide those in half and work from back to front.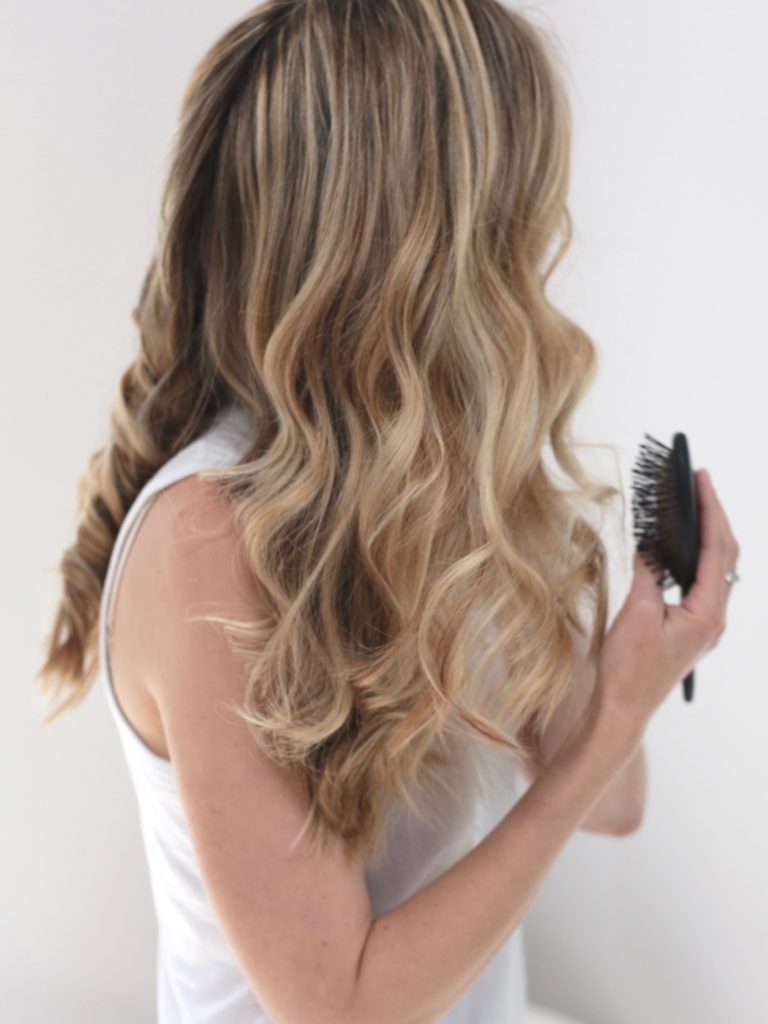
Once my whole head is curled I let it all cool for 10-15 minutes before I lightly brush the curls to give me the loose curls I was going for.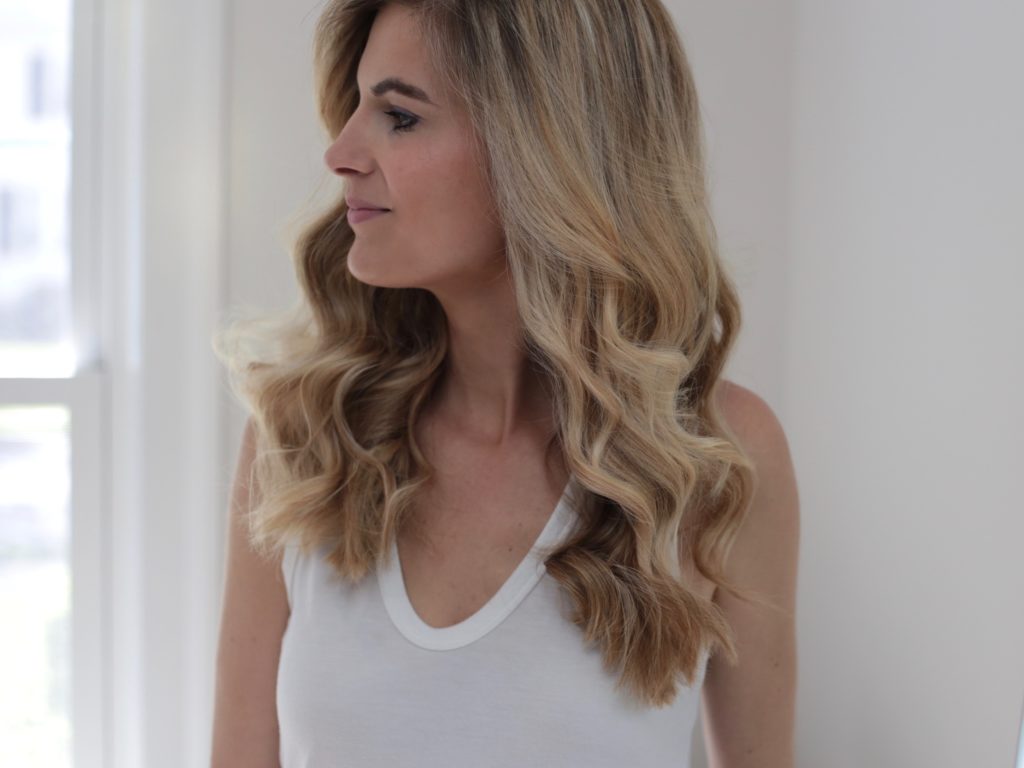
The curls will last me about 3 days. Each day the curl will become just a little looser and give you a different look. To maintain my curls I sleep with my hair twisted into a top knot at the crown of my head. I love this dry shampoo paste that keeps my roots looking fresh but also gives my hair some texture and volume. My favorite spray dry shampoos are Living Proof Dry Shampoo and Batiste.
I can stretch my hair for up to 5 days with all the options the curls give me. The large, full ponytail that comes from the curls is one of my favorite looks and makes for easy Day 3 or 4 hair. I’ll be sharing some more hair hacks for dirty, messy, lazy hair days in the coming months if you’re interested. You can sign up for my weekly newsletter if you want to be notified of new posts like these.
I’d love to hear your favorite curling tools and tips! Feel free to drop a comment below. XO.
You can shop the products I showed in these post below:

Related Posts


follow @pinterestingplans

LTK
AMAZON
ABOUT
STAY ON 30A
HOME INTERIORS
LIFESTYLE
BEAUTY
OUTFITS
HOME

7
7 Comments on Picture Tutorial of Loose Waves for Long Hair