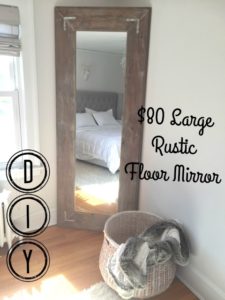
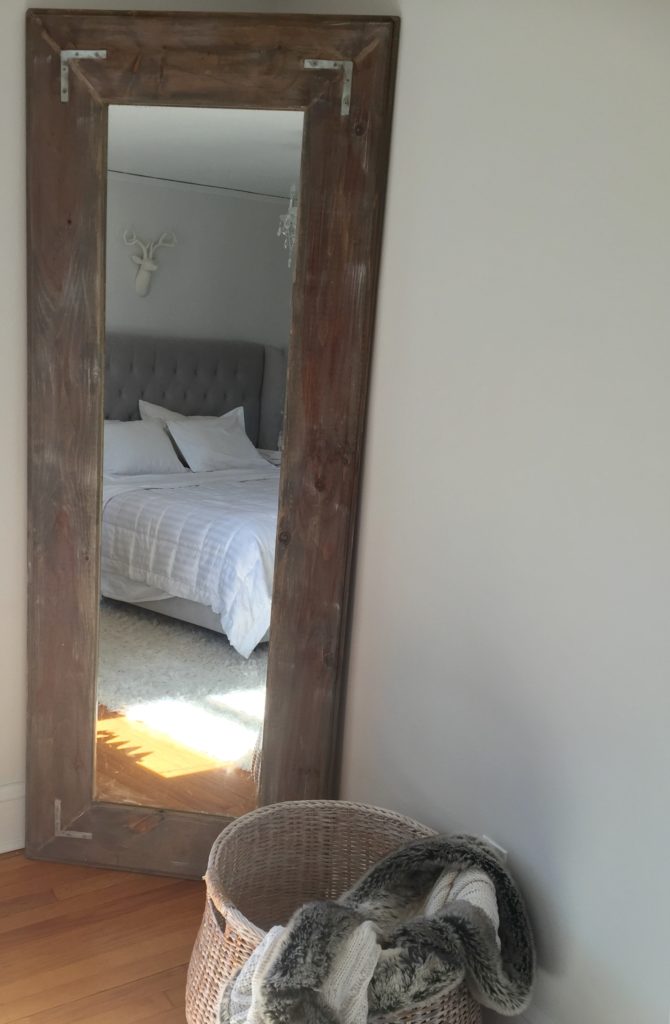
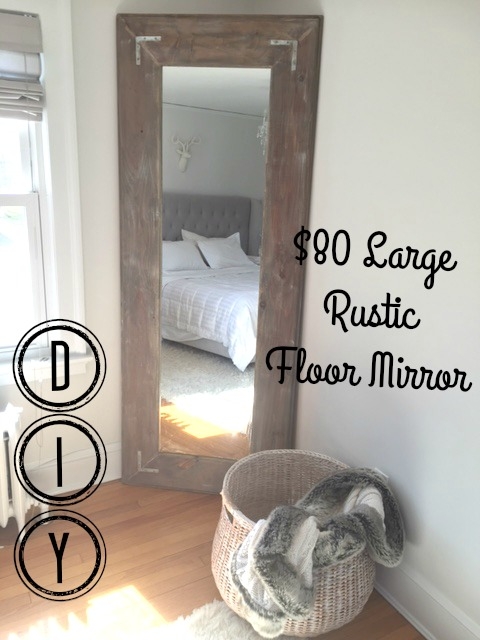
 Since adding fashion to my blog I figured I should start looking in the mirror after I get dressed (on the days I can be considered dressed). I wanted something large since I’m 5’11” and the one I loved at Restoration Hardware cost over a grand. Hmmm….I haven’t made it big as a blogger or in my day job, so I checked Home Goods and they had the size I wanted – but the frames looked cheap to me and were not what I was hoping for. So – I decided to DIY!
This project came together very quickly. I actually didn’t quite know what I wanted – because I had to assess the supplies at Home Depot. I wasn’t sure what size mirrors they’d have in stock and what my options would be for wood to make the frame. I knew I’d be attaching it all to plywood and that mirrors use a different type of adhesive – regular glue I read can bleed through a mirror.
So I ended up using shiplap wood. It has the tongue and groove fit which was perfect – the lip holds the mirror in place without additional mounting hardware. Keep in mind that the listed measurements of wood are exaggerated. This shiplap says 8″ wide – it’s actually 7 inches. So if you were to use the exact supplies I used (but I’ll pray for you that you can find a FREE mirror instead) you’d want to have the sexy Home Depot worker cut your plywood to 30″ X 78″ – you want the shiplap to overhang all the sides except the bottom (where you want the plywood’s support) because plywood does not stain well. When I first started my Home Depot devotion I didn’t realize they will cut all your wood for FREE!! YIPPEE!!! It fits in my SUV now. (Insert all my champagne toasting bitmojis here!!). We cut the 45 degree angles in the shiplap on a miter saw and placed them together on the plywood using wood glue and 1″ screws from the back.
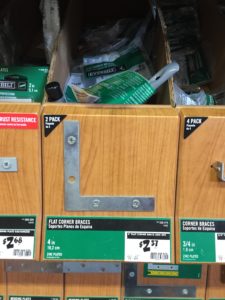
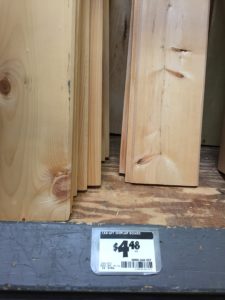
I bought corner “L” braces just to add decoration – though they’re practical and add some extra support. I used wood filler in the corners where things didn’t come together quite as perfectly as they would have if I were a carpenter instead of a mom. Props to my husband – who helped me with the drilling. My kids obviously were helpful too 🙂 I wanted this to look rustic – so I damaged the wood a bit before I stained it with some tools I had lying around. You’ll see in the close ups below the chips and dents. Then I sanded the whole thing smooth with my palm sander and 100 grit sandpaper.

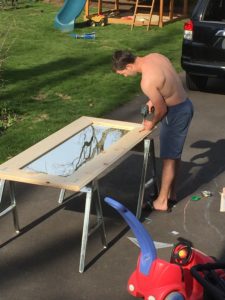
I used a vinegar wood stain once the piece came together. It came out more reddish than usual and I wanted the piece more muted, more gray. So I had a MixWax classic gray stain sample already – I added one coat of that. Then I did a very small amount of white dry brushing and then a very faint white wash to tone it down. If you don’t know what whitewashing is – you mix white paint with water and paint it on and then wipe off until you get your desired look. Depending how light you want it defines how much water you add. Mine was VERY watery – prob 5:1, water:paint and I smeared most of it off. The next day I sealed the wood with furniture wax – I used Minwax furniture paste – it has a smell – I’d have happily used my other go to creme wax and just not buffed it so it wouldn’t shine…next time!
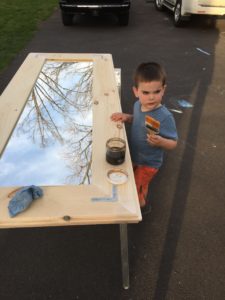
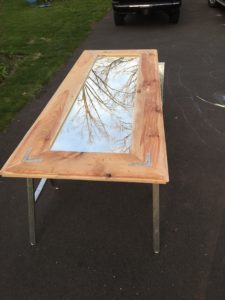
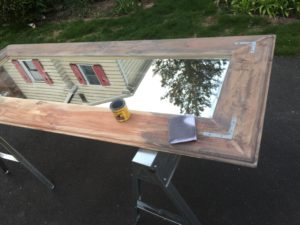
So the mirror sits in the corner of my bedroom. I have very young children so I’m going to tether it to the wall so it won’t tip if they plow into it. This piece is very heavy. I know – because by the grace of God I managed to lug it upstairs when my husband was away. Below are some close-ups of the wood – and me looking SO DAMN SEXY! 😉 you’re welcome!
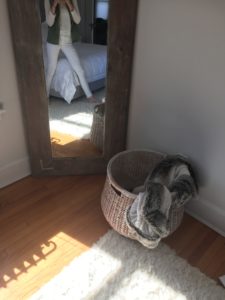

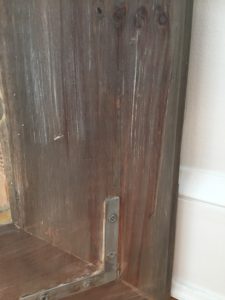
If I had it to do over again and weren’t such a rusher I’d recommend staining BEFORE you insert the mirror. The inner lip of my wood is bare in some spots. I can go back and touch it up – but it would have been easier to do before the mirror was adhered to the wood. I also had to go back and use a straight edge razor to scrape off some of the stain from the mirror.
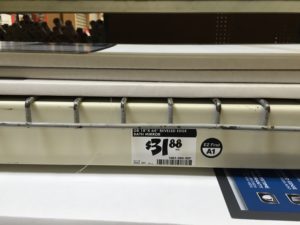
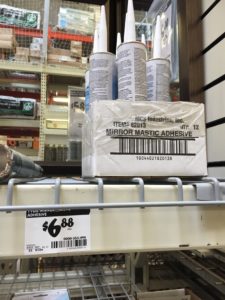
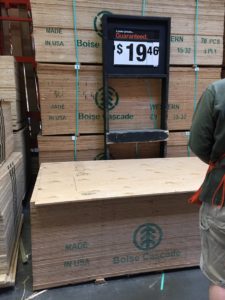
Here’s the cost breakdown in case you’re wondering if it’s worth it. Cost about $80 and half a day. I took pictures of exactly what I purchased at Home Depot – just in case you want to tackle this:
Mirror (18″ x 68″ beveled): $31
1/2″ Plywood (cut to size by Home Depot): $20
Mirror glue: $7
Shiplap (I used one 6 ft piece, and two 8 foot pieces): $18
Corner “L” Braces: $5
Stain, Screws, Wood Glue, Furniture Wax I had on hand.
Here is the West Elm version in you’re not the DIY type…



DIY Window Pane Mirror - Pinteresting Plans
April 16, 2017 at 2:48 am[…] (or $6 at Home Depot) to attach it to the wood. I read somewhere a few months back when I made this mirror that some other adhesives will bleed through […]