How I Edit Fashion Blog Photos With ModCloth

Today I’m working in collaboration with ModCloth on a post detailing how I edit fashion blog photos. This is something you guys have requested. I am certainly not an expert. In fact I try not to over edit my photos because my goal as a blogger is to present my true self – an everyday gal. Not a model, not someone who lives in a million dollar home, and not someone who has fancy photography equipment. What I do – anyone can do! So here are the tips and tools for how I edit fashion blog photos:

If you recall earlier in the Summer I worked with ModCloth to share two AWESOME bathing suits. In my post about a one-piece swimsuit I talked about my body image and in the high-waisted bikini post I shared some tips for getting a mom bod comfortable in a swimsuit. ModCloth is known for their fun, colorful, retro styles but I want to show they have more everyday casual outfits as well. That said, if you’re looking for a stand-out party dress ModCloth has a great selection in a wide range of sizes.
My goal here is to share outfits alongside more helpful content. It’s easy to view photos on social media without ever having to visit someone’s blog and get to know them better. I appreciate you guys expressing interest in learning how I edit my fashion blog photos (as well as some other post suggestions I will get to in the near future).
HOW I EDIT FASHION BLOG PHOTOS
The majority of photos I take for Instagram are done on my phone. I am usually trying to sneak in pictures while out on a coffee run or grabbing groceries with two kids in tow. The iPhone requires no manual settings or adjustments. For blog photos I do a mix of camera and phone pictures depending on the post. If you are just starting out with manual mode on the camera I found this blog post about manual shooting helpful for beginners. The camera is much easier than I thought it would be, just a lot of trial and error. Shooting in natural light is key for me, early and late day being the best times.
Photo Editing Tools:
- MAC Laptop (i-photo)
- VSCO Filter App
- FaceTune App
- Canon EOS 6D Digital Camera
- Canon EF 50 mm f/1.8 STM lens
- I-phone 7 plus
A lot of bloggers use Photoshop and Lightroom but I do not. For one thing I am trying to learn 4,918 other new skills as a blogger so I haven’t found the time to try it out and I also don’t want my pictures to be overly edited. There are Instagram accounts you go to for the visual aesthetic but I just don’t have that eye. I am a suburban mom and nurse practitioner who sort of fell into blogging and I don’t want to pretend I am anything else. I’m doing my best with my current resources.
Let me reiterate – I AM NOT AN EXPERT!!!! Photography, editing, web development – all of this was completely off my radar two years ago. I appreciate you guys telling me what kinds of blog posts you want to read though so I hope this answers a bunch of the questions many of you have sent me. If you have a background in photography you can surely teach me a TON (and probably get a good laugh out of this post).
What I do in iPhoto
Here is a raw image that I uploaded from my camera. Below it I will list the steps I took to edit this exact image and then share how it looks after.
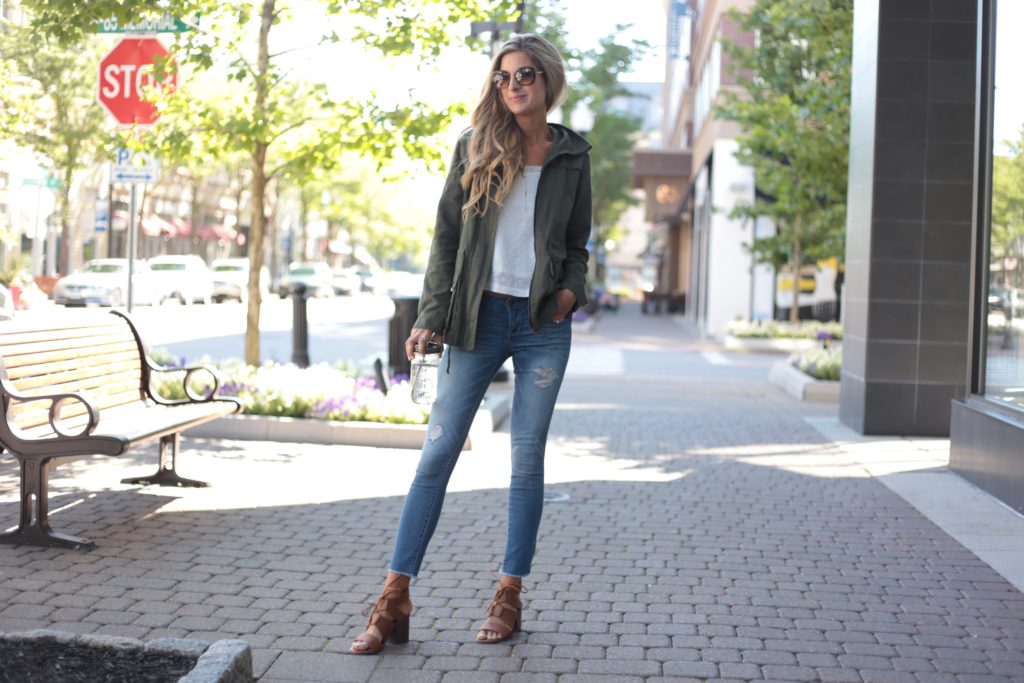
- CROP THE IMAGE: For blog photos I first crop the photo into the 3:2 vertical ratio. I like to Pin my images (hello, PINTERESTING PLANS?!) and vertical images do better on Pinterest. By the way – shameless plug – follow me on Pinterest and let me know if you’re pinning good outfits, home decor, or clean eating recipes so I can follow you back.
- ADJUST THE LIGHTING: I generally just up the exposure (not too much of you’ll lose the detail on the white clothing – which I wear a lot of) and the brightness.
- SHARPEN THE IMAGE: I use the camera for the bokeh effect (blurred background) but I want the subject (me) to be crisp and in focus.
- RETOUCH: There is a retouch feature in iPhoto that lets you blend out some pimples, scars, etc.

I ALWAYS filter my Instagram photos so they will look cohesive. I don’t always filter camera pictures I post on my blog…because…I am lazy like that.
APPS I use for photo editing
- VSCO – I use the HB1 Filter and then sometimes I up the exposure and sharpen the photo even more. You can also tilt and angle you photos really easily in this app if you want a more artistic look. I’m not that artsy though 🙂
- Facetune – I don’t want my wrinkles or zits distracting you from certain outfit details so sometimes I remove them. More often I will crop out my head because, while Facetune is amazing, it can’t fix that awkward, mid-sentence, double chin face that’s ruining the perfect outfit shot.


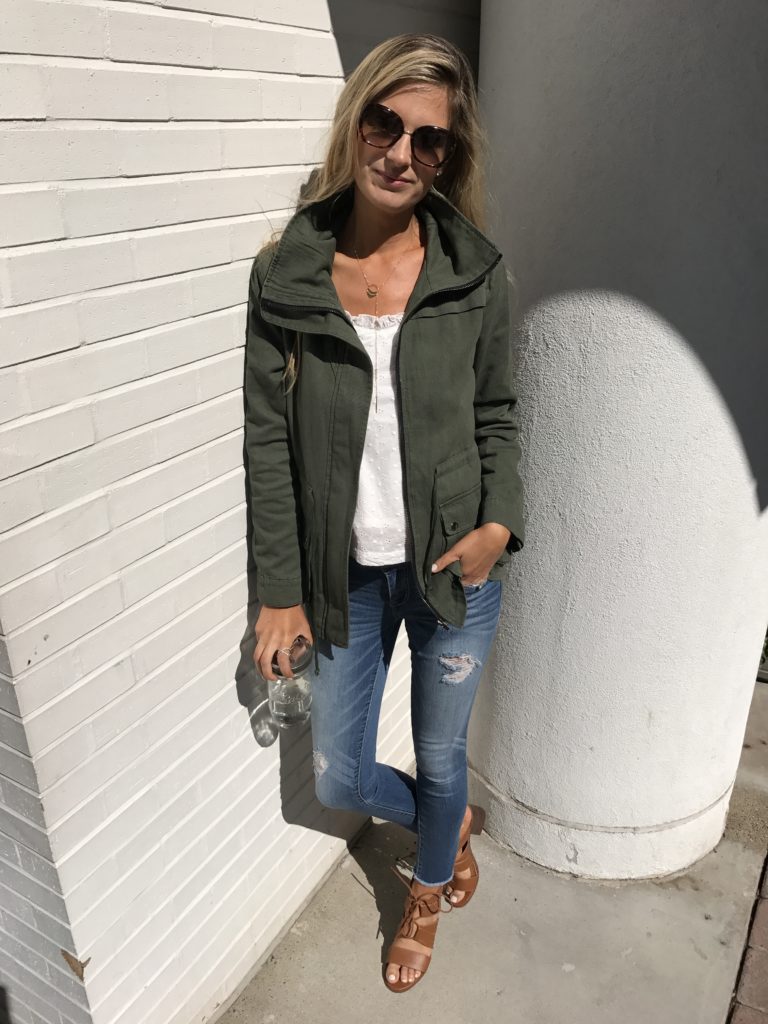
I smoothed out a gorgeous zit that popped up on my chin in this photo.
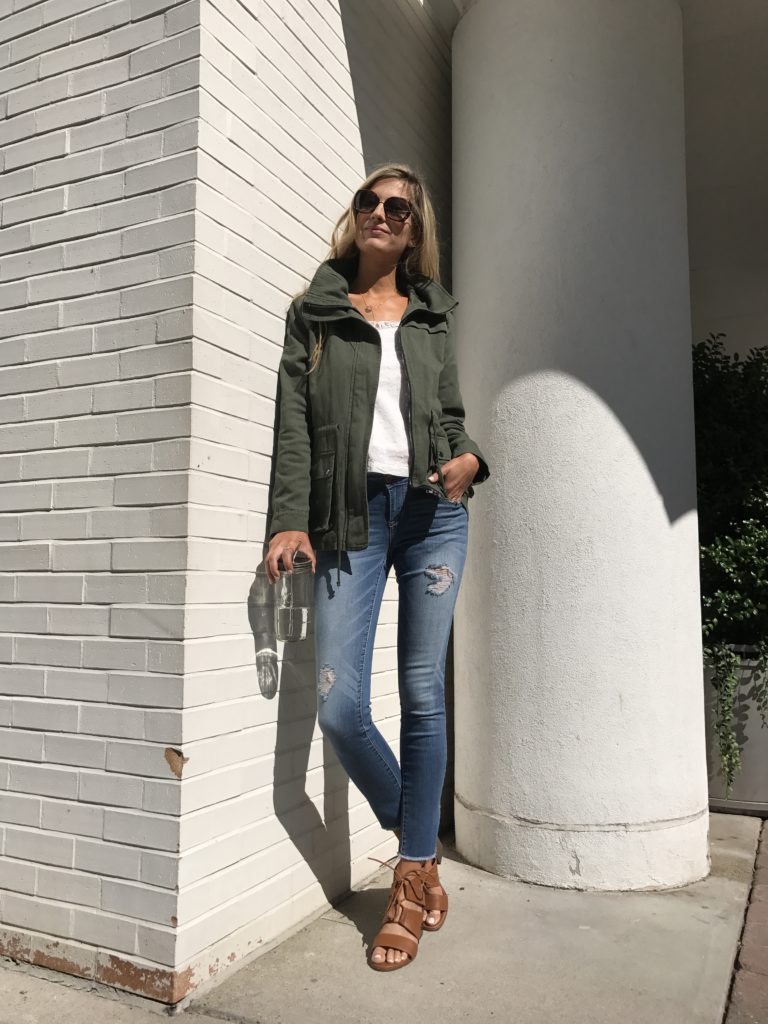
What To Avoid When Taking Pictures:
Direct sunlight (mid day is the worst) is not your friend. You’ll see in these pictures there are shadows all over my face. My wrinkles are evident enough without a shadow cast in them to make them even more noticeable. The best lighting to shoot in is when it’s overcast or early morning or in the “golden hour” – the last hour of sunlight.
Pointing the phone down from above will make your legs (and body) look short. The angle will do a lot to distort the picture. This isn’t always a bad thing. I like overhead shots for showing details of a top, the neckline, etc but I don’t usually pick them for a full body photo.
Photographer too low will make you look like a giant. I am 5’11” so I don’t need any help looking larger than I am. You might try this if you’re very petite but I don’t like my husband to be too low for shooting.
My Preference
I prefer to shoot with the iPhone. It’s frustrating when you come home and a picture like this one below is not crisp. I wasn’t able to tell on my camera’s viewfinder that the details of the eyelet top just weren’t as focused as I would like. The editing tools I know of cannot remedy an out-of-focus photograph (though I did try). There are certain shots an iPhone just can’t get but a detail shot is pretty easy to snap on your phone when you’re on the go.

The last two pictures I took in under one minute with my phone and edited with the apps I mentioned above. I didn’t like the way my smile lines were looking in the top photo – so WHEN IN DOUBT – CROP IT OUT!


You can SHOP MY OUTFIT below:

If you don’t have a utility jacket this one I am wearing above is PERFECT for year-round wear. It’s lined (in the cutest plaid) so it’s warm but not hot. I am wearing size small. I have also been showing tons of outfits that include a utility vest on my Instagram feed. This utility vest from ModCloth is nearly identical to the one I have shown and is ON SALE!!! The eyelet cami shown here will be so cute under Fall cardigans and ponchos when it’s too cool to wear alone. I am wearing XS in the eyelet tank.
For those who also have interest in fashion and photography, I’d love to hear how you edit fashion blog photos. What are your favorite apps or tools? Do you prefer to shoot with the phone or camera?
Related Posts


follow @pinterestingplans

LTK
AMAZON
ABOUT
STAY ON 30A
HOME INTERIORS
LIFESTYLE
BEAUTY
OUTFITS
HOME

17
17 Comments on How I Edit Fashion Blog Photos With ModCloth